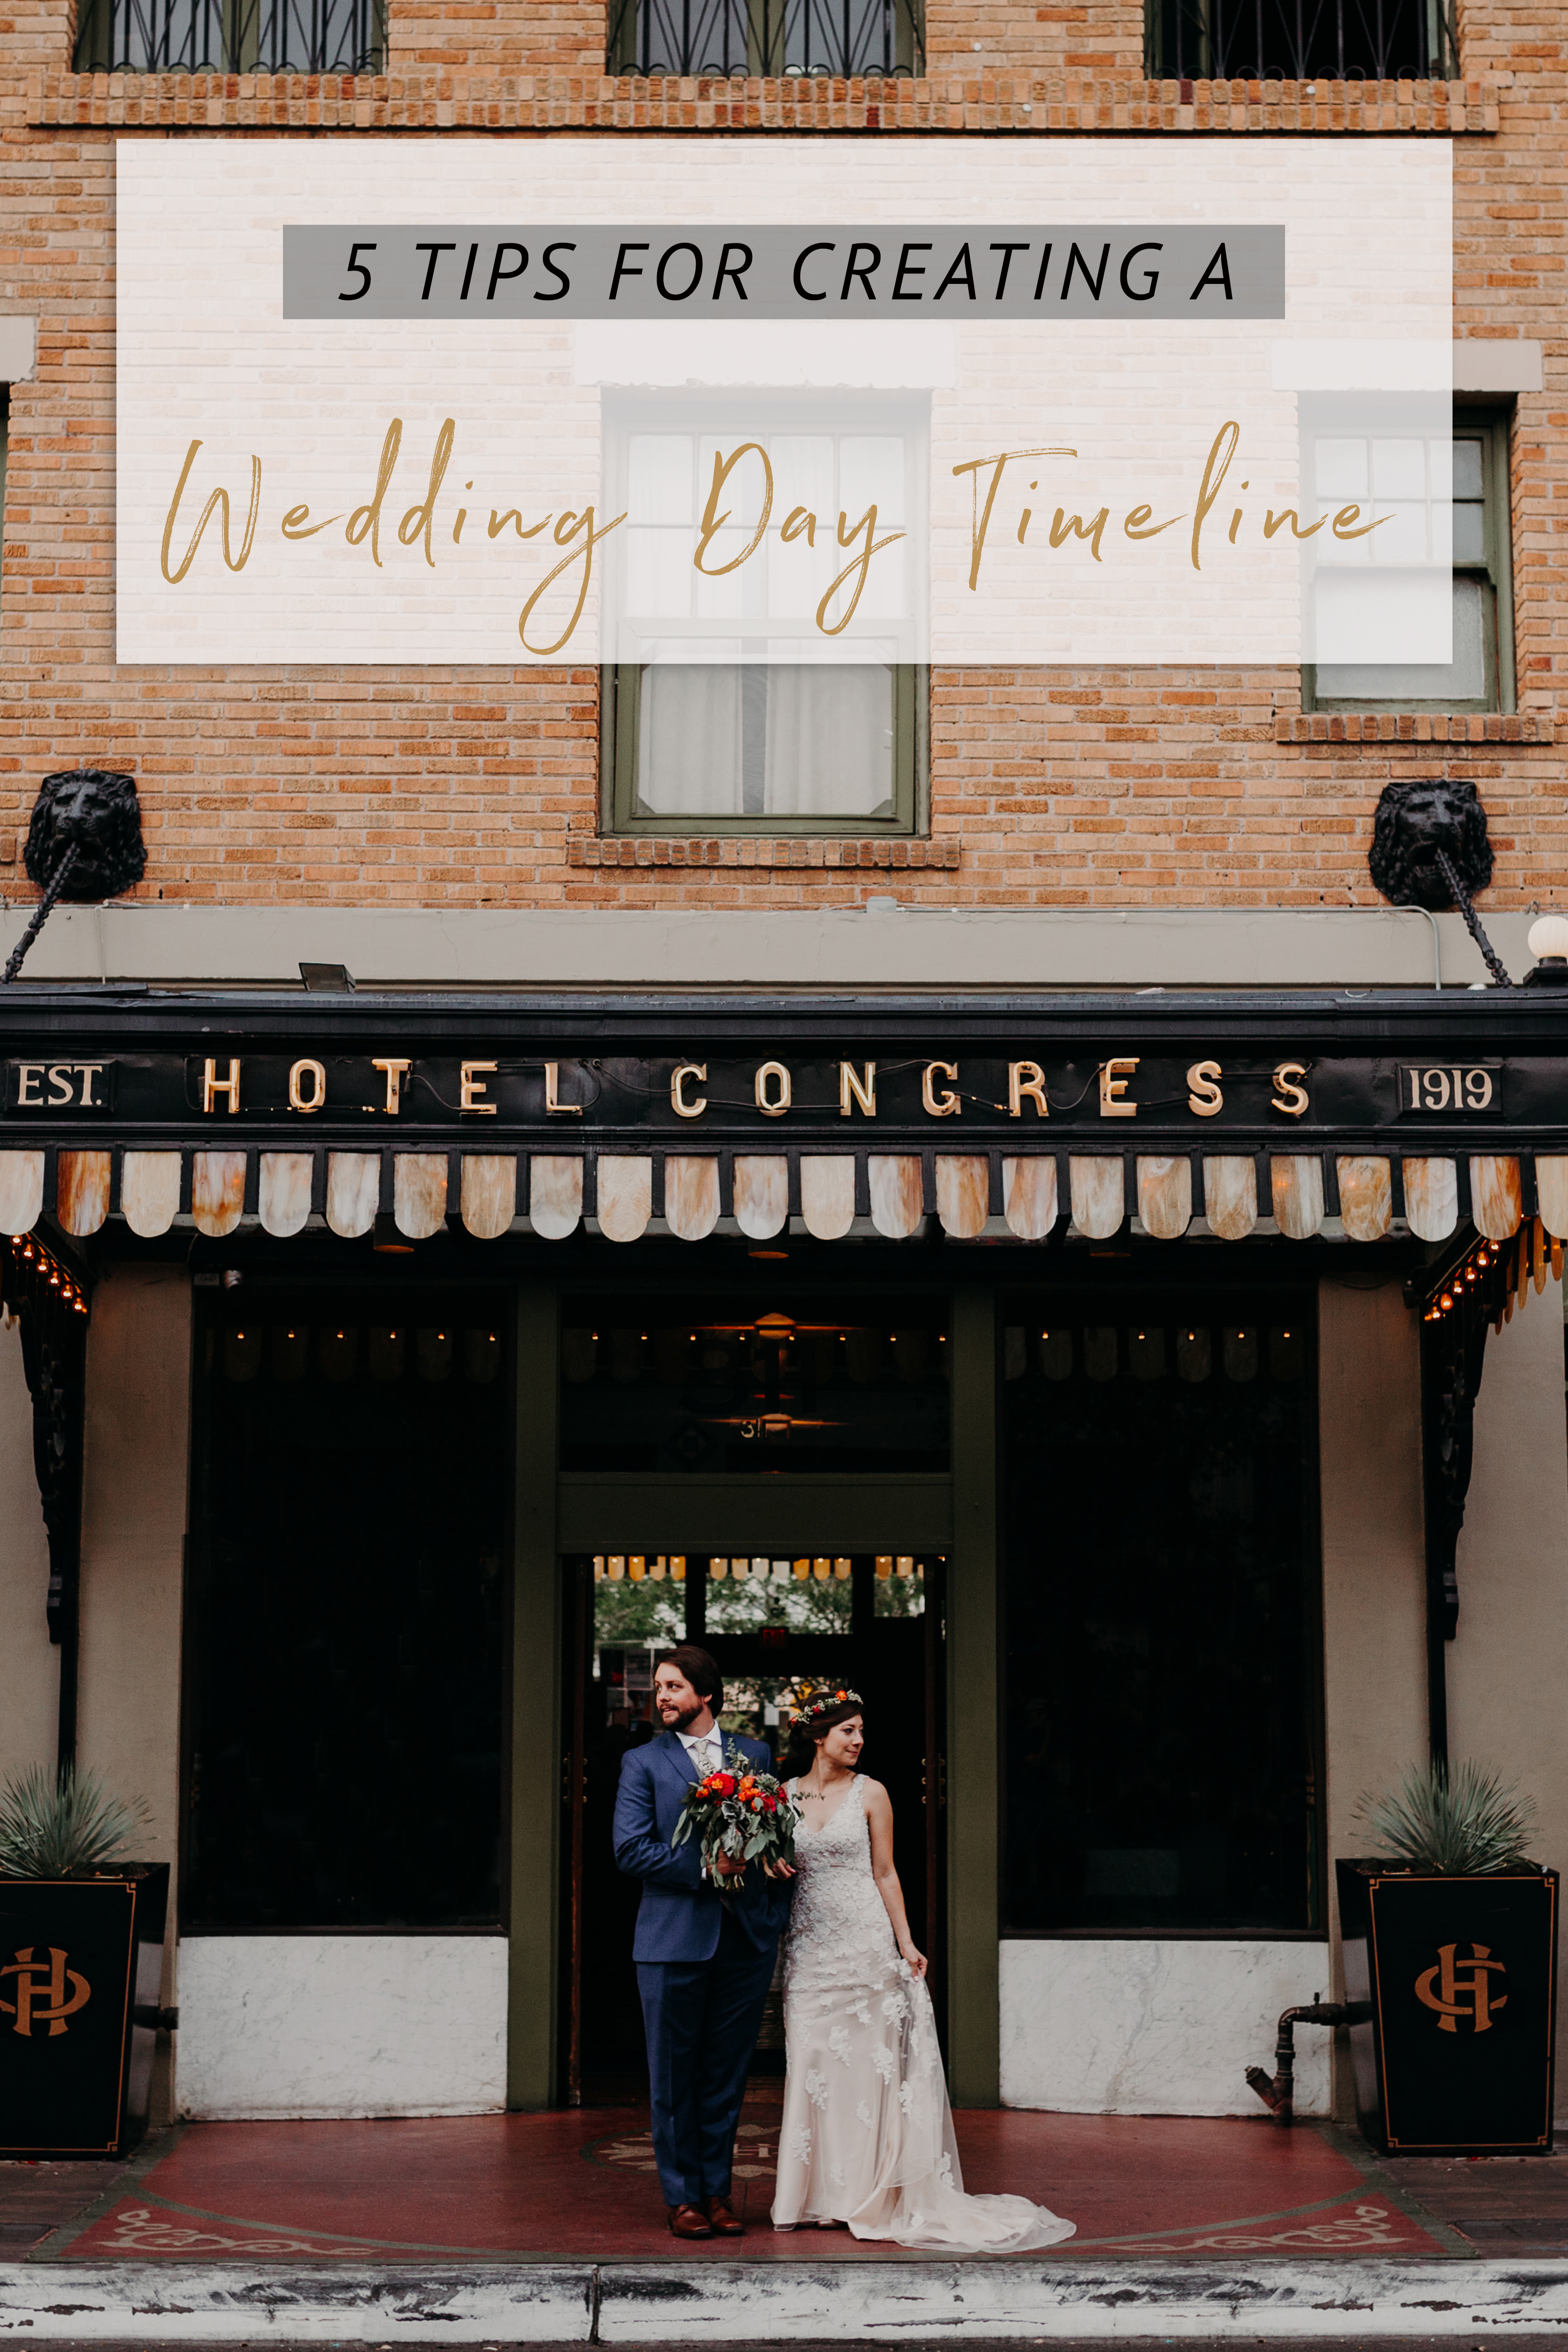
5 Tips for Creating a Wedding Day Timeline
There are several moving parts during a wedding day and a detailed timeline can ensure the couple, wedding party, family, and vendors are all on the same page. Whether you’re an engaged couple, a detail-oriented maid of honor, or a wedding photographer, here are a few tips for creating a wedding day timeline.
1. Consult with Professional Vendors
Before taking the initiative and creating a wedding day timeline, check in with your planner, photographer, and venue for any specific needs they may have. As a wedding photographer, I connect with my couple’s planners and venue to ensure we’re on the same page before diving deep into creating a timeline.
2. Start with the Basics
In order to create a wedding day timeline, we need a few key pieces of information: first look preference, ceremony time, and sunset time. I begin outlining my timelines with these 3 pieces of info and then fill in the details.
For example, sunset photos are a priority for my couples (and for me!) so we make sure to block off 20-30 minutes for photos leading up to sunset. I then consider whether my couples prefer a traditional first look down the aisle or an intimate first before the ceremony. Depending on their preference, I work backward from the ceremony time and add separate wedding party photos and getting ready photos; and then add family photos and entire wedding party photos after the ceremony.
3. 30-Minute Golden Rule
I use a general golden rule of 30 minutes for each photo portion of the day. From details to getting ready, family photos to sunset photos, I typically allow 30 minutes for each part of the day. Some portions may take longer, and some may be shorter, but this is a great starting point.
4. Vendor Information
Although my timelines are specific to photography, it’s always helpful to create a main timeline with every vendor’s arrival and departure time. Planners are great at creating these and communicating with vendors to ensure everyone is on the same page. This is just one of the many reasons to hire a wedding planner. 😉
5. Confirm and Communicate Final Timeline
After you’ve created a timeline, you can’t go wrong with sending it to your couple, planner, photographer, and any other highly involved vendors who may want to view it. Other vendors may offer input we haven’t thought of to ensure the day runs smoothly!
I hope you’ve enjoyed my 5 tips for creating a wedding day timeline. If you have any suggestions for additional tips, I’d love to hear them; comment below!
If you enjoyed this post, you’ll also love my sample wedding timeline.
